OPEN-SOURCE SCRIPT
Swing Break & Retest Zones (Pivot-Based Guard Lines)
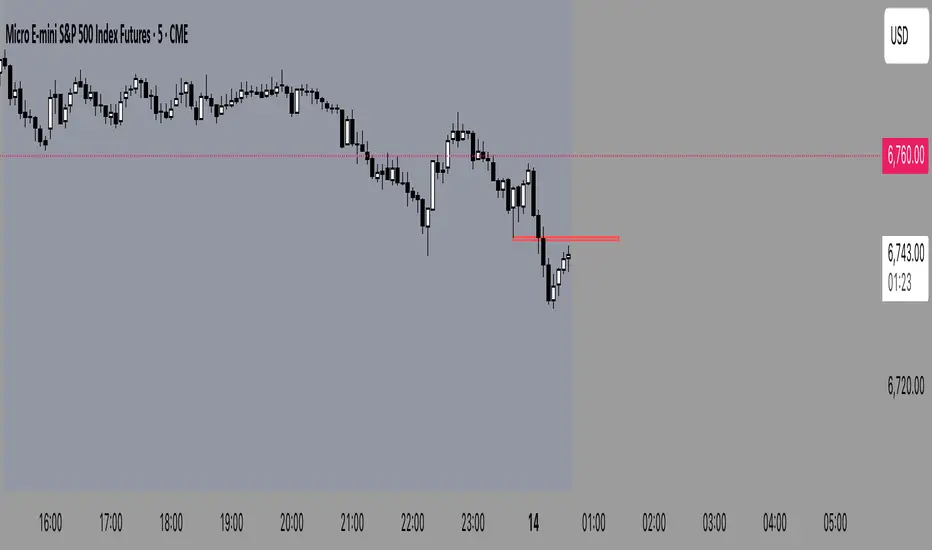
Swing Break & Retest Zones automatically detects swing structure breaks, plots bullish/bearish retest zones at the broken pivot, and projects those zones forward so traders can anticipate pullbacks with clarity. A Guard Line anchored at the swing high/low provides trend direction and structure confirmation. Pure price-action — no lagging indicators.
How To Use This Indicator (Trader Guide)
1. Identify Breakouts
A breakout occurs when price closes beyond the most recent swing high or swing low (with an optional tick buffer).
• Break above swing high → Bull Break
• Break below swing low → Bear Break
2. Watch the Retest Zone
After a break, a colored retest zone is projected forward from the broken pivot:
• Green box = Bullish retest
• Red box = Bearish retest
This zone marks where the market is most likely to return and test the breakout area.
3. Look for First Touch
The first touch back into the zone is often where:
• Trends resume
• Failed breakouts become clear
• Liquidity sweeps occur
• Stop hunts resolve back into direction
Once touched, the zone becomes “validated” and will remain until the next break.
4. Guard Line as Structural Confirmation
The Guard Line extends from the broken pivot high/low and visually confirms:
• Whether the trend is intact
• Whether the market is defending that swing
• Where invalidation may occur
A cleaner version of standard swing-structure trends.
Skrypt open-source
W zgodzie z duchem TradingView twórca tego skryptu udostępnił go jako open-source, aby użytkownicy mogli przejrzeć i zweryfikować jego działanie. Ukłony dla autora. Korzystanie jest bezpłatne, jednak ponowna publikacja kodu podlega naszym Zasadom serwisu.
Wyłączenie odpowiedzialności
Informacje i publikacje nie stanowią i nie powinny być traktowane jako porady finansowe, inwestycyjne, tradingowe ani jakiekolwiek inne rekomendacje dostarczane lub zatwierdzone przez TradingView. Więcej informacji znajduje się w Warunkach użytkowania.